Sign up today and receive a 10% off coupon for your next order!
"*" indicates required fields
Sign up today and receive a 10% off coupon for your next order!
"*" indicates required fields
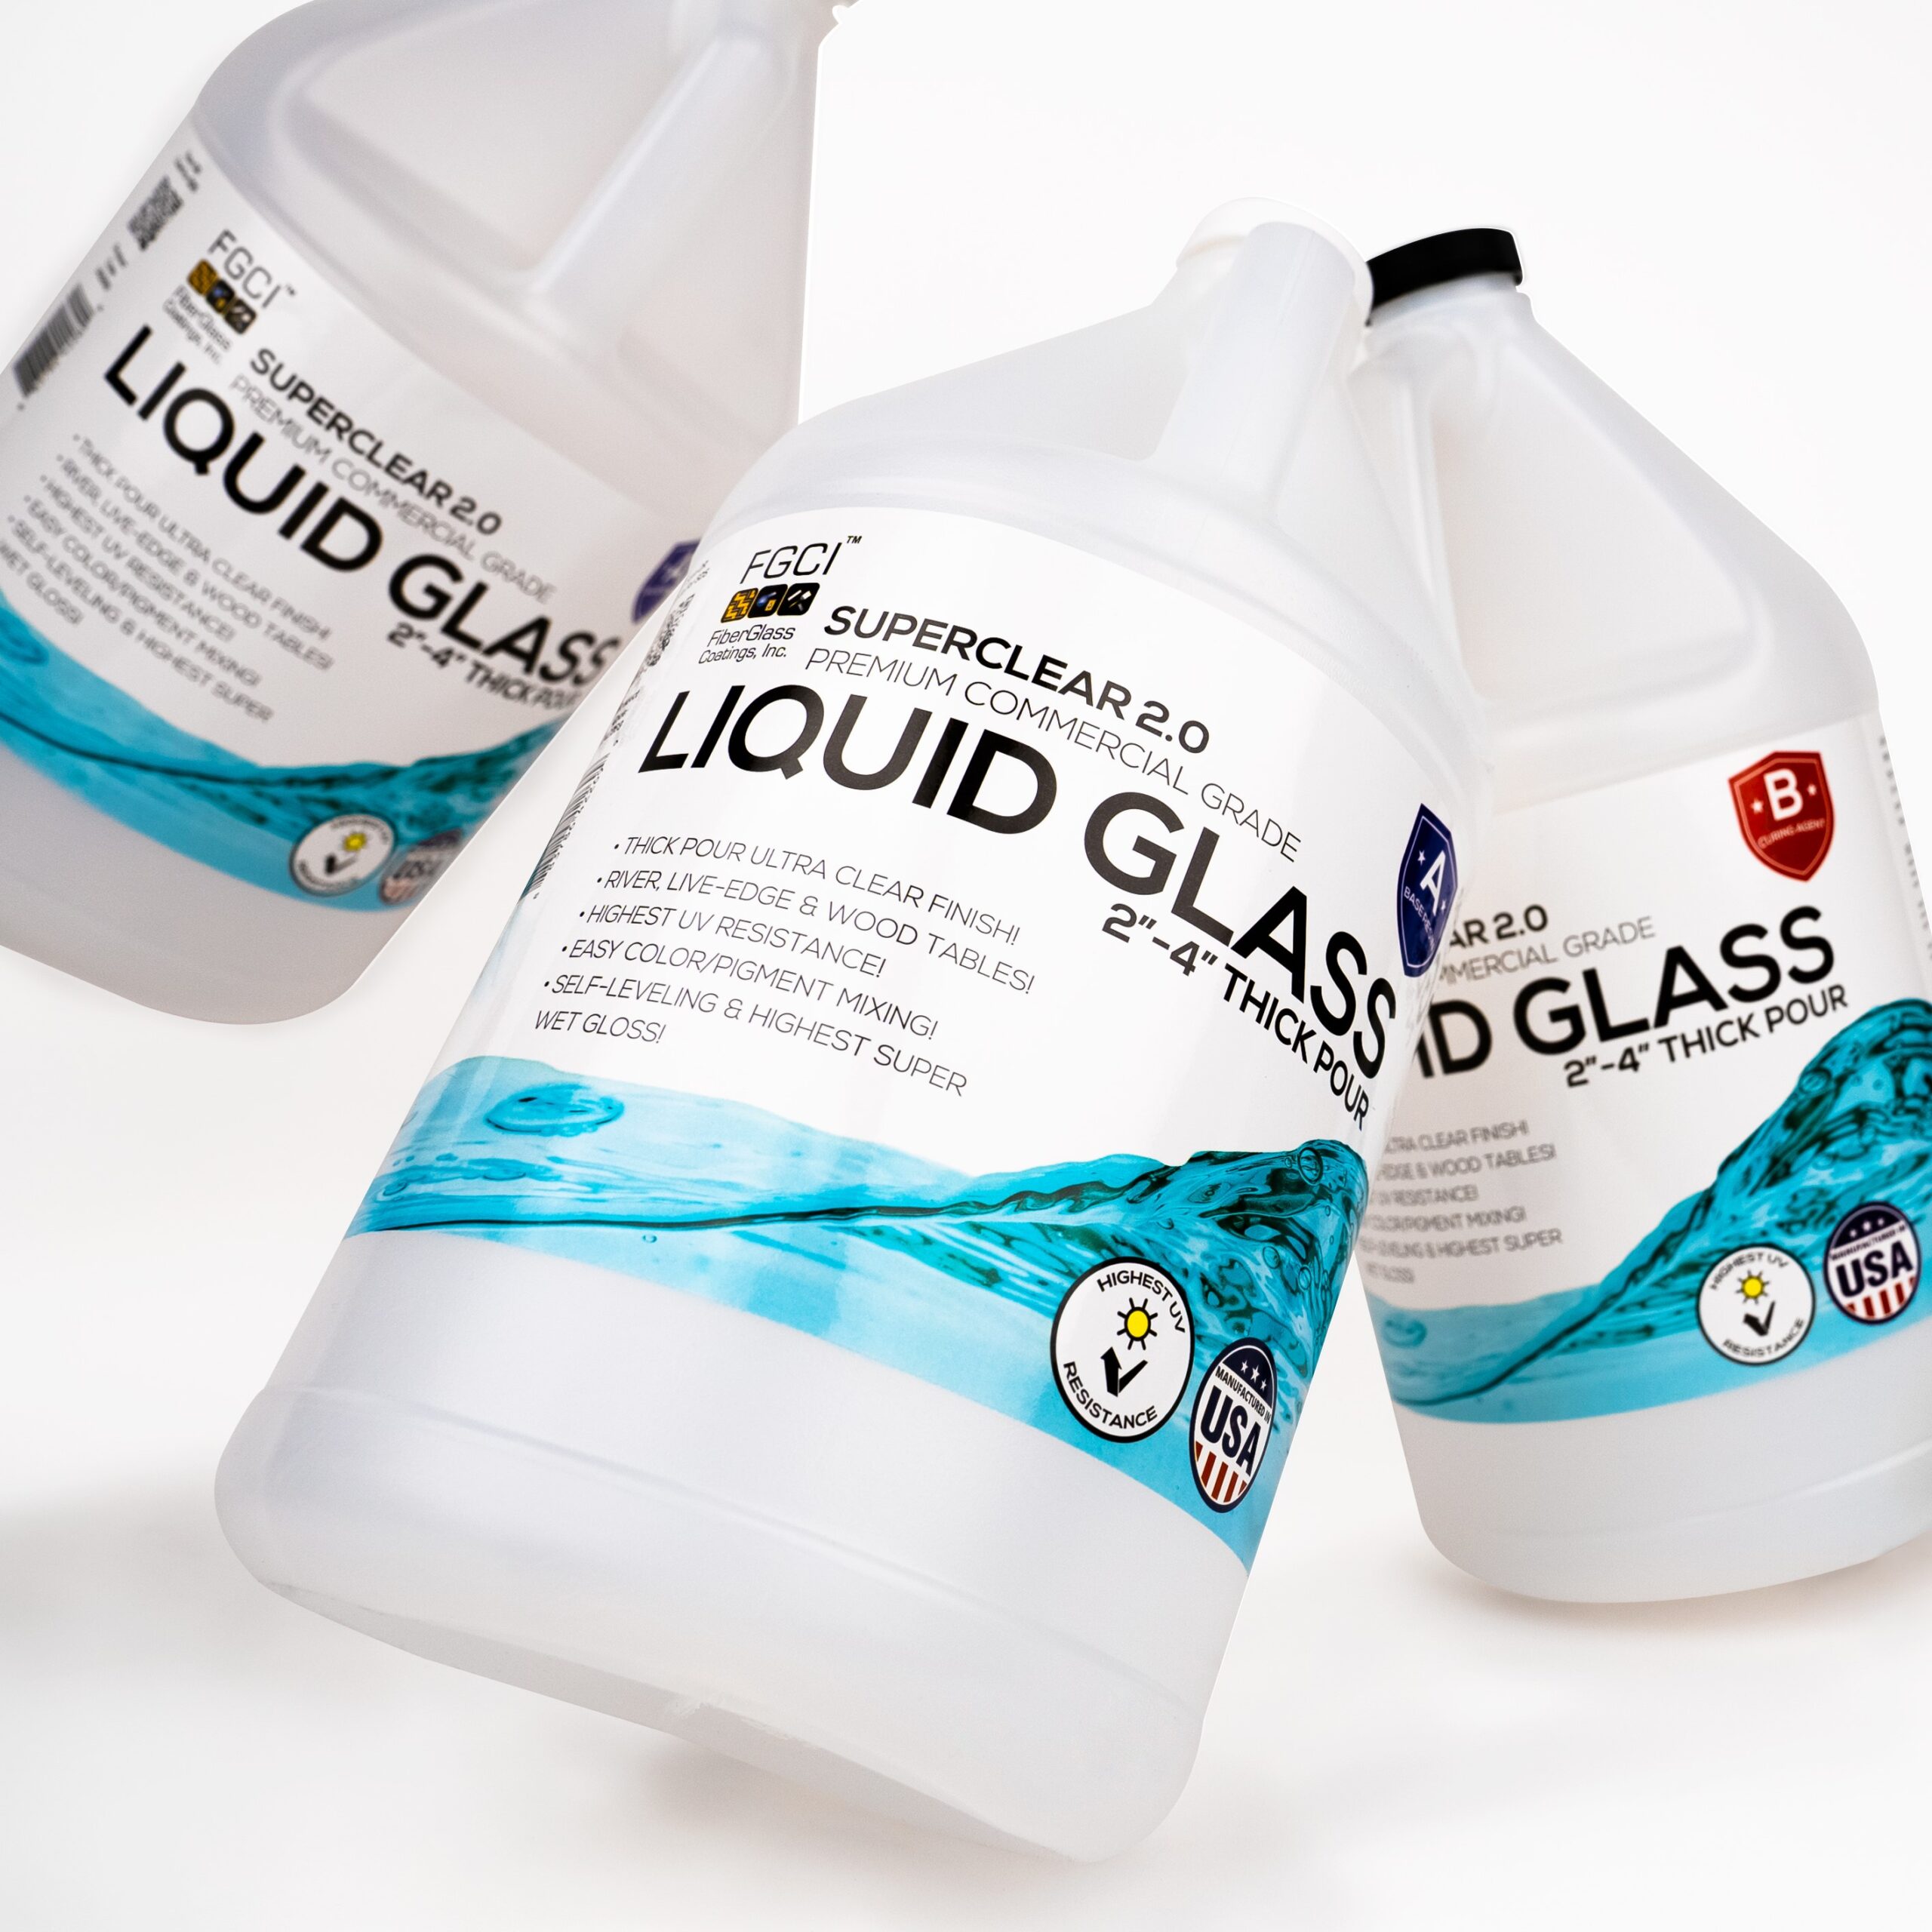
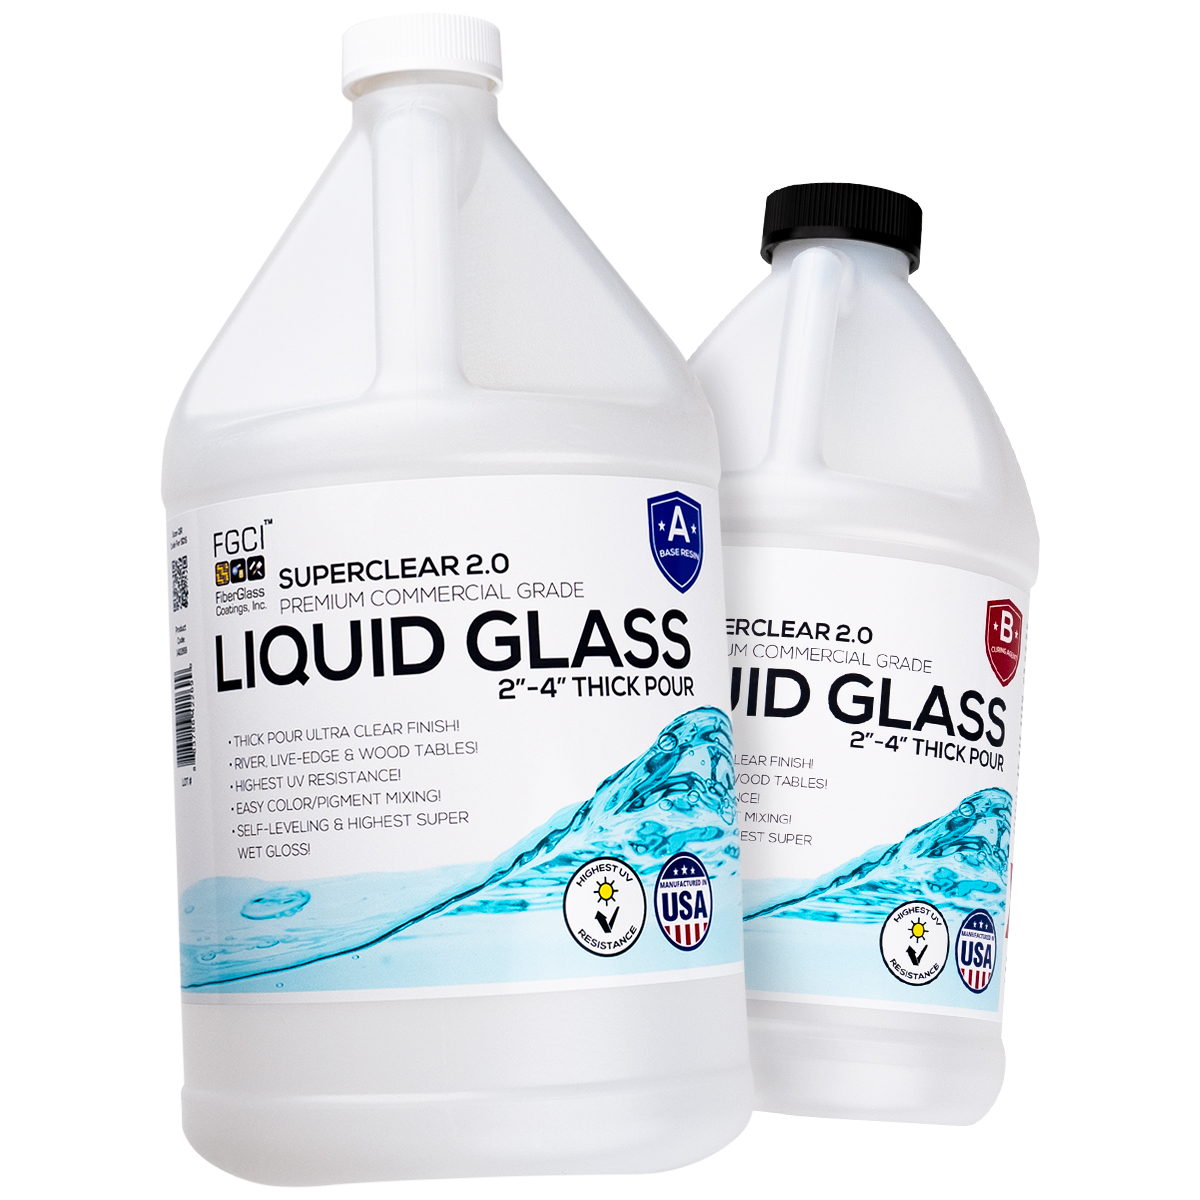


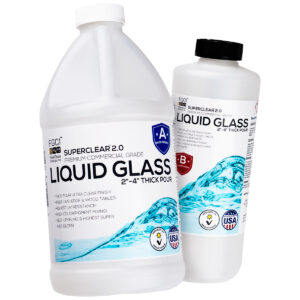
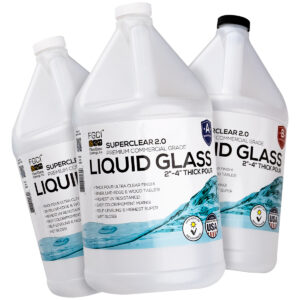
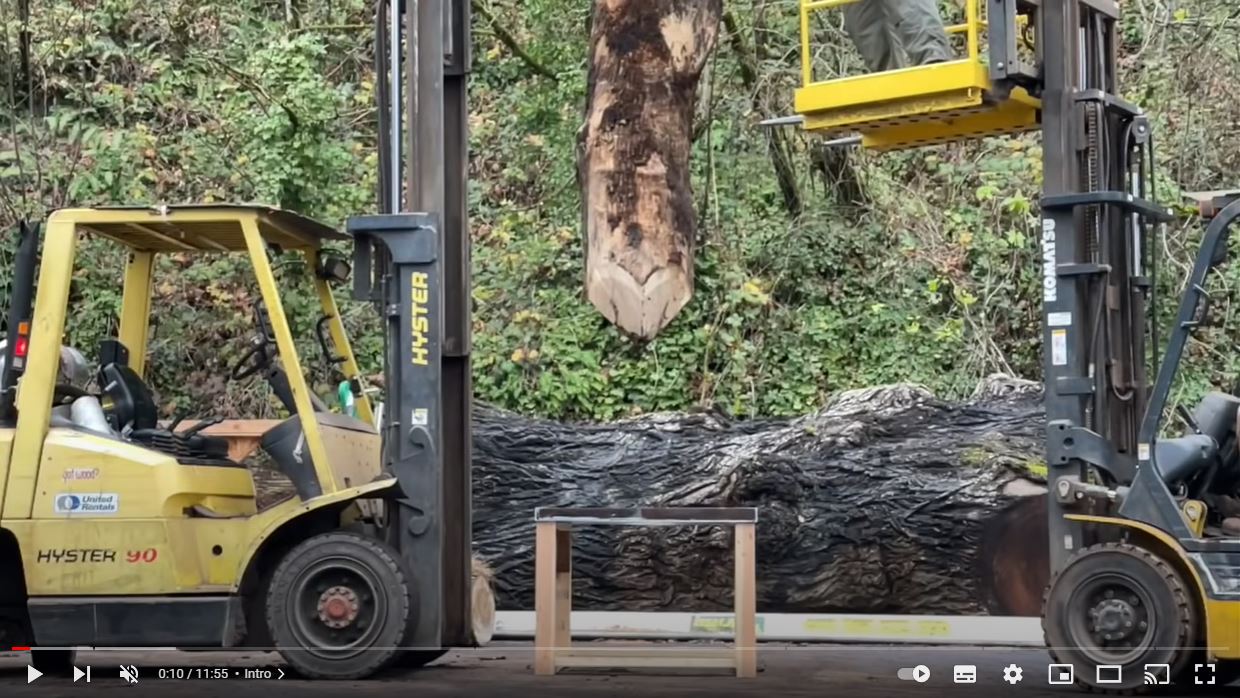
Superclear’s 2:1 ratio, Liquid Glass casting epoxy, offers unparalleled clarity. Manufactured with the highest quality raw materials, this product is quite literally the best on the market. While it can be used for small projects, this product shines on large, deep pours, and with a high barcole rating, you can be sure the structural integrity is there! Just watch the video below!
Price range: $49.99 through $299.99
Superclear Liquid Glass Deep Pour Epoxy is absolutely unparalleled with a deep pour capability of 2-6 inches and gives you unmatched industry performance, convenience by eliminating 75% of your work, with the clearest finish you can get on the market today!
We Are the Original Manufacturer, and We’ve Been in this Business for over 60 years! SUPERCLEAR 2.0 IS MADE IN THE USA! ODOR FREE! ZERO VOC’s!
Some things to always keep in mind, whether you are new or are a seasoned pro!
This is our typical instructions for our products. We understand everyone’s environment, project and applications may be different. if you have questions, don’t hesitate to call us at 888-849-0588. We would love to go over your project with you, and if you don’t get us on the phone (we are probably on the other line), send us an email here.
STEP 1:
Using the Coverage Chart, determine the amount of epoxy you will need for your project. Be sure to order SuperClear Table Top Epoxy for a seal coat to ensure best results!
STEP 2:
Ensure your working environment is clean, dry and at least 70 degrees for best results. Lay down a plastic sheeting below your project for a safe, easy cleanup. Make sure your surface is completely level, as the epoxy will self-level.
STEP 3:
Seal Coat: Be sure to clean the surface with Isopropyl Alcohol 90% + and apply your sealcoat with a brush, following all mixing directions for that product. Let it get tacky before pouring your deep pour. If the seal layer is fully cured, for best results, lightly sand the surface with 320 grit sandpaper and clean with Isopropyl Alcohol 90% +, and then pour the deep pour.
STEP 4:
Mixing Deep Pour: Measure 2 parts Resin to 1 part Activator and pour into a clean, dry bucket or cup. Stir the mixture for at least 5 minutes with either a stir stick (if mixing with a stir stick, do not mix more than 1 quart) or a drill mixer set to low. Ensure you are not whipping air into your epoxy. Be sure to scrape the sides and bottom to ensure all of your epoxy is properly mixed.
STEP 5:
Transfer contents to a new, clean, dry bucket or cup and continue mixing for 3 more minutes to ensure proper mixing, again scraping sides and bottom.
STEP 6:
Pour mixture directly into your mold at your desired depth.
STEP 7:
Use a heat source, like a heat gun to remove any air bubbles. Start at 6” minimum above the surface and sweep back and forth until no bubbles remain. Do not leave the heat gun over the surface too long, as to prevent surface distortions.
STEP 8:
Allow the surface to cure, up to 72 hours in a dust-free environment. The epoxy will start to get tacky after 24 hours but do not disturb for 72 hours to ensure a proper cure.
You need to stir it by hand for a minimum of 6 minutes, scraping the sides and bottom thoroughly throughout while mixing. When pouring, we do not recommend scraping the sides. Doing so can risk mixing in unmixed, unincorporated epoxy into your pour, thus creating curing issues.
The product will begin to harden within the first 8-12 hours in ideal conditions, but takes around 24 hours to completely cure. This is dependent upon conditions like constant temperature, humidity, mass and airflow.
You can mix nearly all alcohol dyes, mica powders, and liquid pigments with our product, not to exceed 12%. However, we do not recommend acrylic based colorants as they can negatively react with the epoxy.
Yes! Simply wait until the pour is tacky and nearly hard and pour your next layer. If the product is already hard, lightly sand with 240 grit sandpaper and wipe it down with Isopropyl Alcohol 90% or higher before adding additional layers, which helps with the adhesion between the two layers.
Absolutely! With any surface, you want to ensure the surface is clean and dry before applying. As always, we recommend a seal coat before applying thicker coats.
We highly recommend a seal coat, which is a very thin coat of Superclear applied to the surface to prevent air bubbles and any residual moisture from the substrate getting into your thick pour. Make sure that the pour surface on your substrate is properly sealed. You can use our SuperClear Table Top Epoxy to easily seal by applying with a paint brush.
Under 65 degrees, our epoxy may start to thicken up. You may even see some crystallization. Don’t worry, the epoxy is perfectly fine! Before mixing, bring a pot of water up to a steady 75-80 degrees, and then put each bottle of epoxy in there until they come up to temp between 75-80 per bottle. Do not mix first and then bring up to temp. Once the epoxy is up to temp, you can now begin the mixing process.
You can pour up to 1” thick per pour, depending on ambient temperature and total mass. Much thicker than most competitors! The mass for a 1” pour varies depending on temperatures and conditions. If you have never poured a deep pour at 1”, we suggest you try it on a smaller scale to understand how it will cure in your particular environment.
Our epoxies are the clearest Epoxy on the market with breathtaking clarity and long lasting beauty. CAN I USE THIS ON TOP OF AN OIL BASED STAIN? No, epoxy will not adhere to oil based stains.
Not a problem. This is easily fixed by rough sanding the area, clean the area with isopropyl alcohol, and then repour more of our epoxy. Let that cure. Sand down to desired surface, and then buff to your desired shine.
Yes, once it is completely cured, you can paint over the top of it.
The ideal ambient temperatures are between 70-84F. This temperature varies due to each application being different. A good rule of thumb is that the more volume you are pouring, the lower the temperature should be.

Eye Candy Pigment is a US Based company with highest quality epoxy resin pigment powder available. High quality products and impeccable customer service and tech support combine to make a really fantastic company and product line!
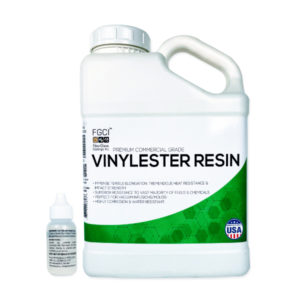
FGCI’s Vinylester Fiberglass Resin is a top of the line laminating resin with superior chemical resistance compared to our isophthalic resin, and a high corrosion resistance. Perfect for high end boats, car parts, spas and pools. This resin is long-lasting with improved strength and durability, and is perfect for both above and below the waterline.
*For Drum Quantities – please contact us via our Contact Us page.
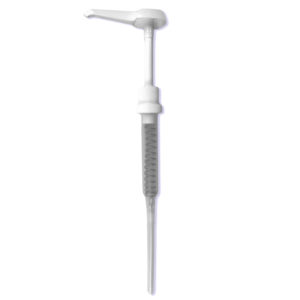
Our pump dispensers are made of durable HDPE plastic, fits 1/2-1 gallon jugs, keeps materials sealed and is made in the USA.
Our Isophthalic Fiberglass Resin is a big step up from our General Purpose with extremely high water and corrosion resistance, and with greater strength and durability. Yes, our Isophthalic is more expensive than our General Purpose, but this spec resin stays affordable, while giving you more value.
Compared to our General Purpose Resin, our Isophthalic polyester is superior in resistance to chemicals, corrosion, water, impact, heat, and has better adhesion to glass fibers.
*For Drum Quantities – please contact us via our Contact Us page.